

Overview
The IO toolkit is developed in NodeJS using the Loopback framework. The IO Toolkit provides Device Drivers and API skeletons: Loopback applications that implement the REST APIs that these components must offer (D.2.3 technical specification), UIs (D2.2 functional specifications), as well as NodeJS modules and middleware to connect to the vf-OS kernel services messaging, pubsub, registration and logging).
At this point, we are generating the skeleton using Loopback and Swagger.
The flow of work for developing the IO toolkit is:
1. Swagger definition of the offered APIs (D.2.3 device drivers and API connectors APIs).
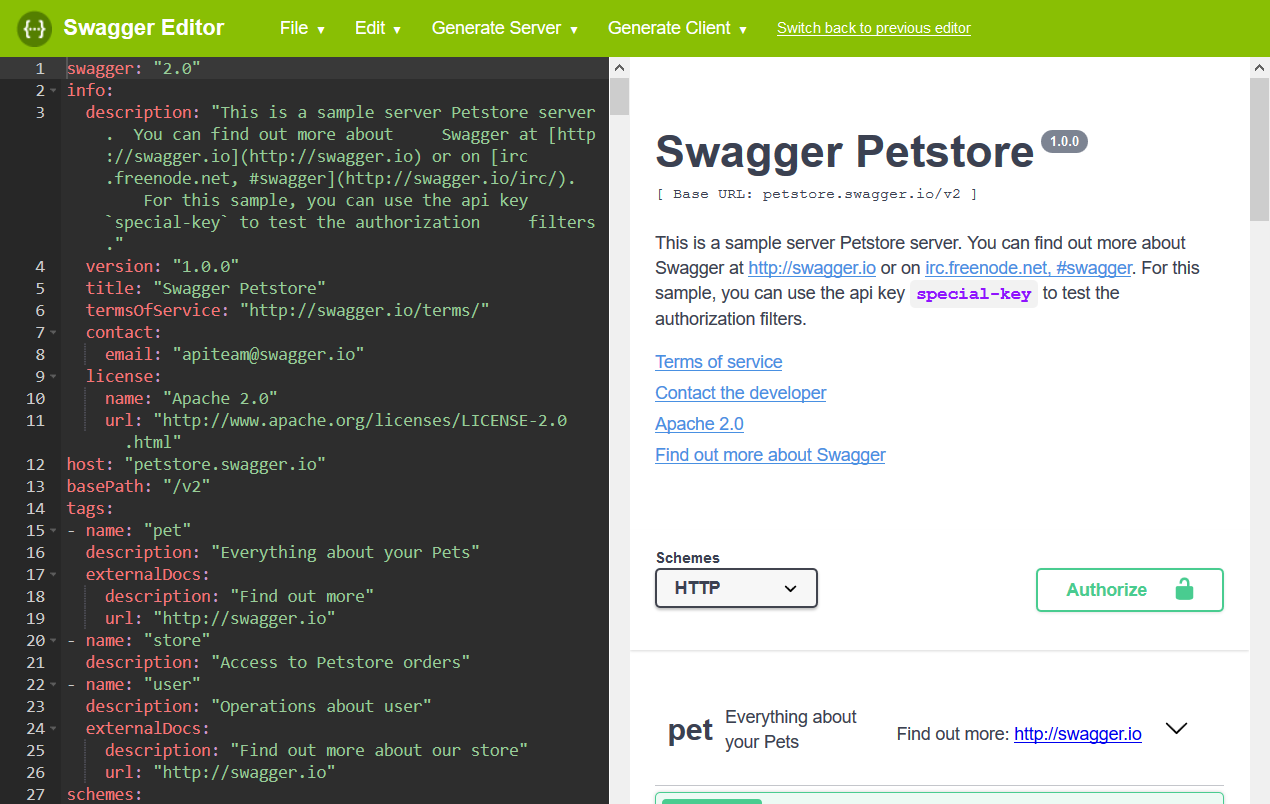
This step is done using the Swagger Editor online or on-premises. The Swagger definition of a service requires using a specific syntax explained here or that you can partially induce from an example shown here.
After defining the API and the models (messages exchange on the REST API invocation), you must download it in yaml format to a local directory of your own.
2. Generation of the IO toolkit structure using Swagger generator.
Using the Loopback tools as shown on the how-to, you must generate an empty loopback project so that you can run the loopback swagger generator (command-line tool) that will take the previous yaml file with the models and API definition and will generate the corresponding functions and objects on the loopback project.
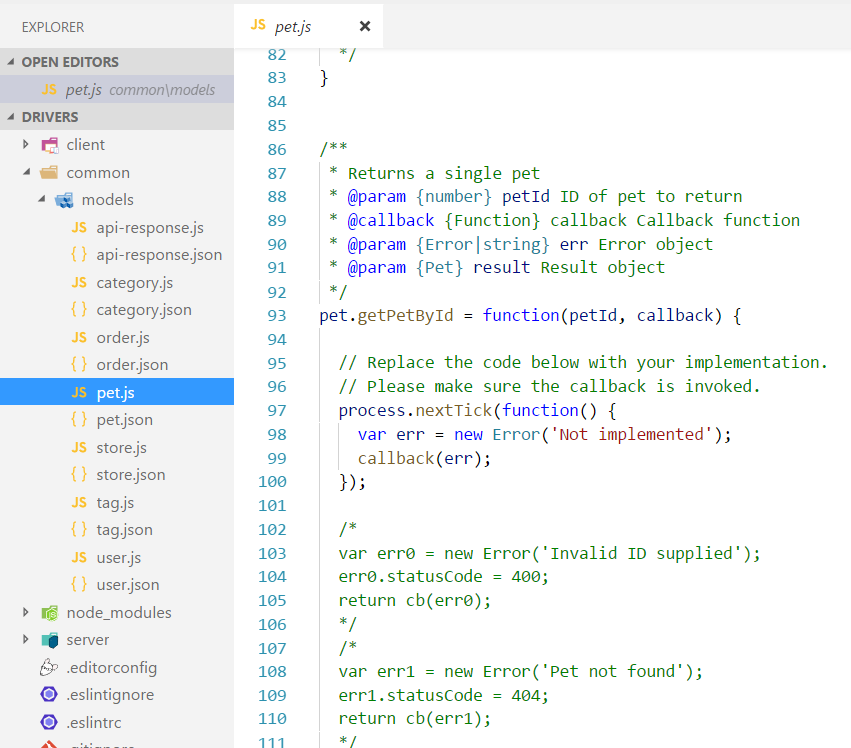
3. Populate the loopback project with the IO toolkit generic code leaving only empty the files and methods that will be populated in a later stage with the vf-OS middleware.
Loopback generates on step 2 the routing, classes, methods, etc. You must navigate de structure of the project and write the code that is common to any drivers and API connector, so that, the generation of new drivers and connectors will only require the modification of specific functions.
Prerequisites
- Node.js must be install on your system. (https://nodejs.org/en/download/)
-
Once Node.js is installed, you can install loopback.
$ npm install -g loopback-cli
-
Your must install locally or use online a Swagger Editor
-
You must create a local directory when the swagger yaml file and the loopback code will be generated. This local directory will be push to opensource projects so, it is recommended that you create it clonning the directory from the opensource projects. This last step requires Git ().
git clone https://your_user@opensourceprojects.eu/git/p/vfos/iotoolkit/code vfos-iotoolkit-code
Modify your_user with your current user on opensource projects
How to
This is a detailed guide with the technical steps explained on the Overview section. You must installed of the tools said of the Prerequisites section.
- Clone the IOToolkit code respository from OSP according to the prerequisites instructions.
- Open the swagger editor and define the REST API of your component. This will provide a description of the REST API that can be used to generate the Loopback application code automatically.
Follow the Mardown file you wrote for 2.3 technical specification.

Export the generated yaml file using the Menu entry File-->Download YAML and save it to your local drive. -
Now, we will use Loopback to generate an empty application skeleton. This is a step necessary so that the loopback generator can generate the loopback code from the swagger file you store on step 1.
$ mkdir driver-skeleton
$ cd driver-skeleton
$ lb
? What's the name of your application? driver-skeleton
? Enter name of the directory to contain the project: driver-skeleton
? Which version of LoopBack would you like to use? 3.x (current)
? What kind of application do you have in mind? empty-server (An empty LoopBack API,
without any configured models or datasources)
...
I'm all done. Running npm install for you to install the required dependencies.
If this fails, try running the command yourself.
...
Then, you can use the swagger generator command and your yaml file to generate the code for the REST API endpoinsts:
$ lb swagger ..\swagger\Driver.yml
? Select models to generate: (Press <space> to select, <a> to toggle all, <i> to inverse selection)
 (*) swagger_api_drivers_v1
>(*) device
 (*) proprietaryParam
? Select data origin for the models: (no data-source)
In the previous menu you will see the list of objects you defined on your swagger definition. Select all of them to generate the code.
You can now navigate the code that has been generated with an editor of your choice.
 Once you have this, you can run the loopback application and do some basic test with the API Explorer UI:
$ node .
Web server listening at: http://localhost:3000
Browse your REST API at http://localhost:3000/explorer
-
When ready, don't forget to commit and push the changes to OSP.
git status
git add .
git commit -m "changes"
git push
Best practices
- CRUD from definition: Swagger generator already provides the implementation of the CRUD API from a model definition. For instance, if you have a configuration element (eg Drivers) and you would like to provide a CRUD interface for this element, you don´t need to define the REST interface in Swagger, just select your definition from the model and the generator will automatically create the standard CRUD for the model. This is an opportunity to harmonise and standardise interfaces so it is best if we all use it.
- Versioning: Bear in mind that there will be different versions of the toolkit so focus on functionality for the first iteration. If you thought some configuration elements or models for advanced use cases, consider skipping them at this point.